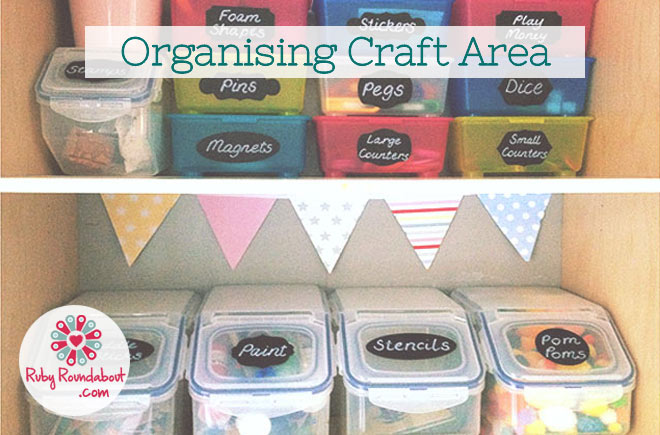
Organising the Kids Craft Area
Frustration was fast building when I began digging through a massive pile of textas only to find that the vast majority were dried out.
But the mass of coloured paper, scissors, sticky tape, pencils and more that had been forcefully stuffed into every crevice of the craft cupboard by the girls as they attempted to “clean up” after themselves was overwhelming. It just felt depressing. It was only a week ago that I’d spent what felt like forever tidying up the cupboard and now here we were again!
We needed to implement a system! We were long overdue for a kids craft area complete overhaul.
This overhaul was successful and the system seems to have stuck for the whole year so I think it’s probably worth sharing in case you can benefit.
Step 1:
I wrote a list of all the different items that lived in the craft cupboard. Our list was long but my kids are avid crafters. They spend a large chunk of their home time busily imagining and creating exciting crafts.
You can download my list here and just tweak it to suit yourself. Cross out anything that doesn’t apply to your family.
Once you’ve added up all your categories, you know how many labels you’ll need.
I chose to use blackboard labels and I found them at Typo for a fairly economical price. I used a white permanent texta to write on the labels. The chalk texta didn’t work well at all.
http://shop.cottonon.com/shop/product/chalkboard-labels-black/

You can also grab them from Amazon. I have found a few links for you below.
http://www.amazon.com/40-Chalk-Labels-Chalkboard-Rectangles/dp/B00772HUR0/
http://www.amazon.com/12-Fancy-Rectangle-Chalkboard-3-2/dp/B008GODWZ2/
http://www.amazon.com/Ziggyboard-Chalkboard-Rectangle-Stickers-Kitchen/dp/B00DNAEUM8/
My kids are old enough that they can read labels but if they couldn’t, I would have attached some visual labels instead.
Step 2:
Decide which items on your list are small and need a smaller storage space (e.g. sequins, pins, sharpeners, split pins, counters, erasers etc).
Count the number of items that will require a larger storage container (e.g. stamps, paint, paintbrushes, scissors, etc.)
We buy large packets of paddle pop sticks, pom poms, foam stickers etc so we tend to put those items in the “large items” column. If you buy smaller packets, the small storage boxes will likely suffice.
Step 3:
You will need to get hold of some containers to store all the craft equipment and materials. I wanted something that was easy for little hands to manage. I wanted easy-open flip top lids and available space to attach my labels.
I ended up finding these great food caddies that work perfectly. I grabbed the 5 Litre caddies because they easily fit an adult hand and they fit a whole lot of material inside. I ended up purchasing mine online at TVSN while they were on sale.
![]()
For smaller bits and bobs, I used the trusty IKEA Glis Boxes.
http://www.ikea.com/au/en/catalog/products/10135584/
The keys to this system working are easy containers to open and close along with clear labeling to suit your children.
This system works really well for our family. The kids so much better at keeping the craft area organised. We are back onto fast 5-minute clean-ups and I no longer get a rude surprise along with a feeling of hopelessness when I open the doors to the craft cupboard. I’ve tried a few systems before but this one is definitely the most successful of them all!
Don’t forget to download our list for organising your art and craft cupboard.
http://www.rubyroundabout.com/wp-content/uploads/2013/10/Art-Cupboard-Organisation.pdf
Recommended
-

Essential Oil Remedies For SunburnFebruary 10th, 2014
-

Entertaining Kids in RestaurantsJanuary 16th, 2014
-

Top 6 Essential Oils No Home Should Be WithoutJanuary 13th, 2014
-
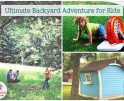
Creating the Ultimate Backyard Adventure for KidsDecember 30th, 2013
-
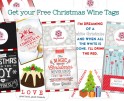
Christmas Wine TagsDecember 3rd, 2013
